For today’s Saturday Stitches we are showing you how to knit 1×1 rib stitch.
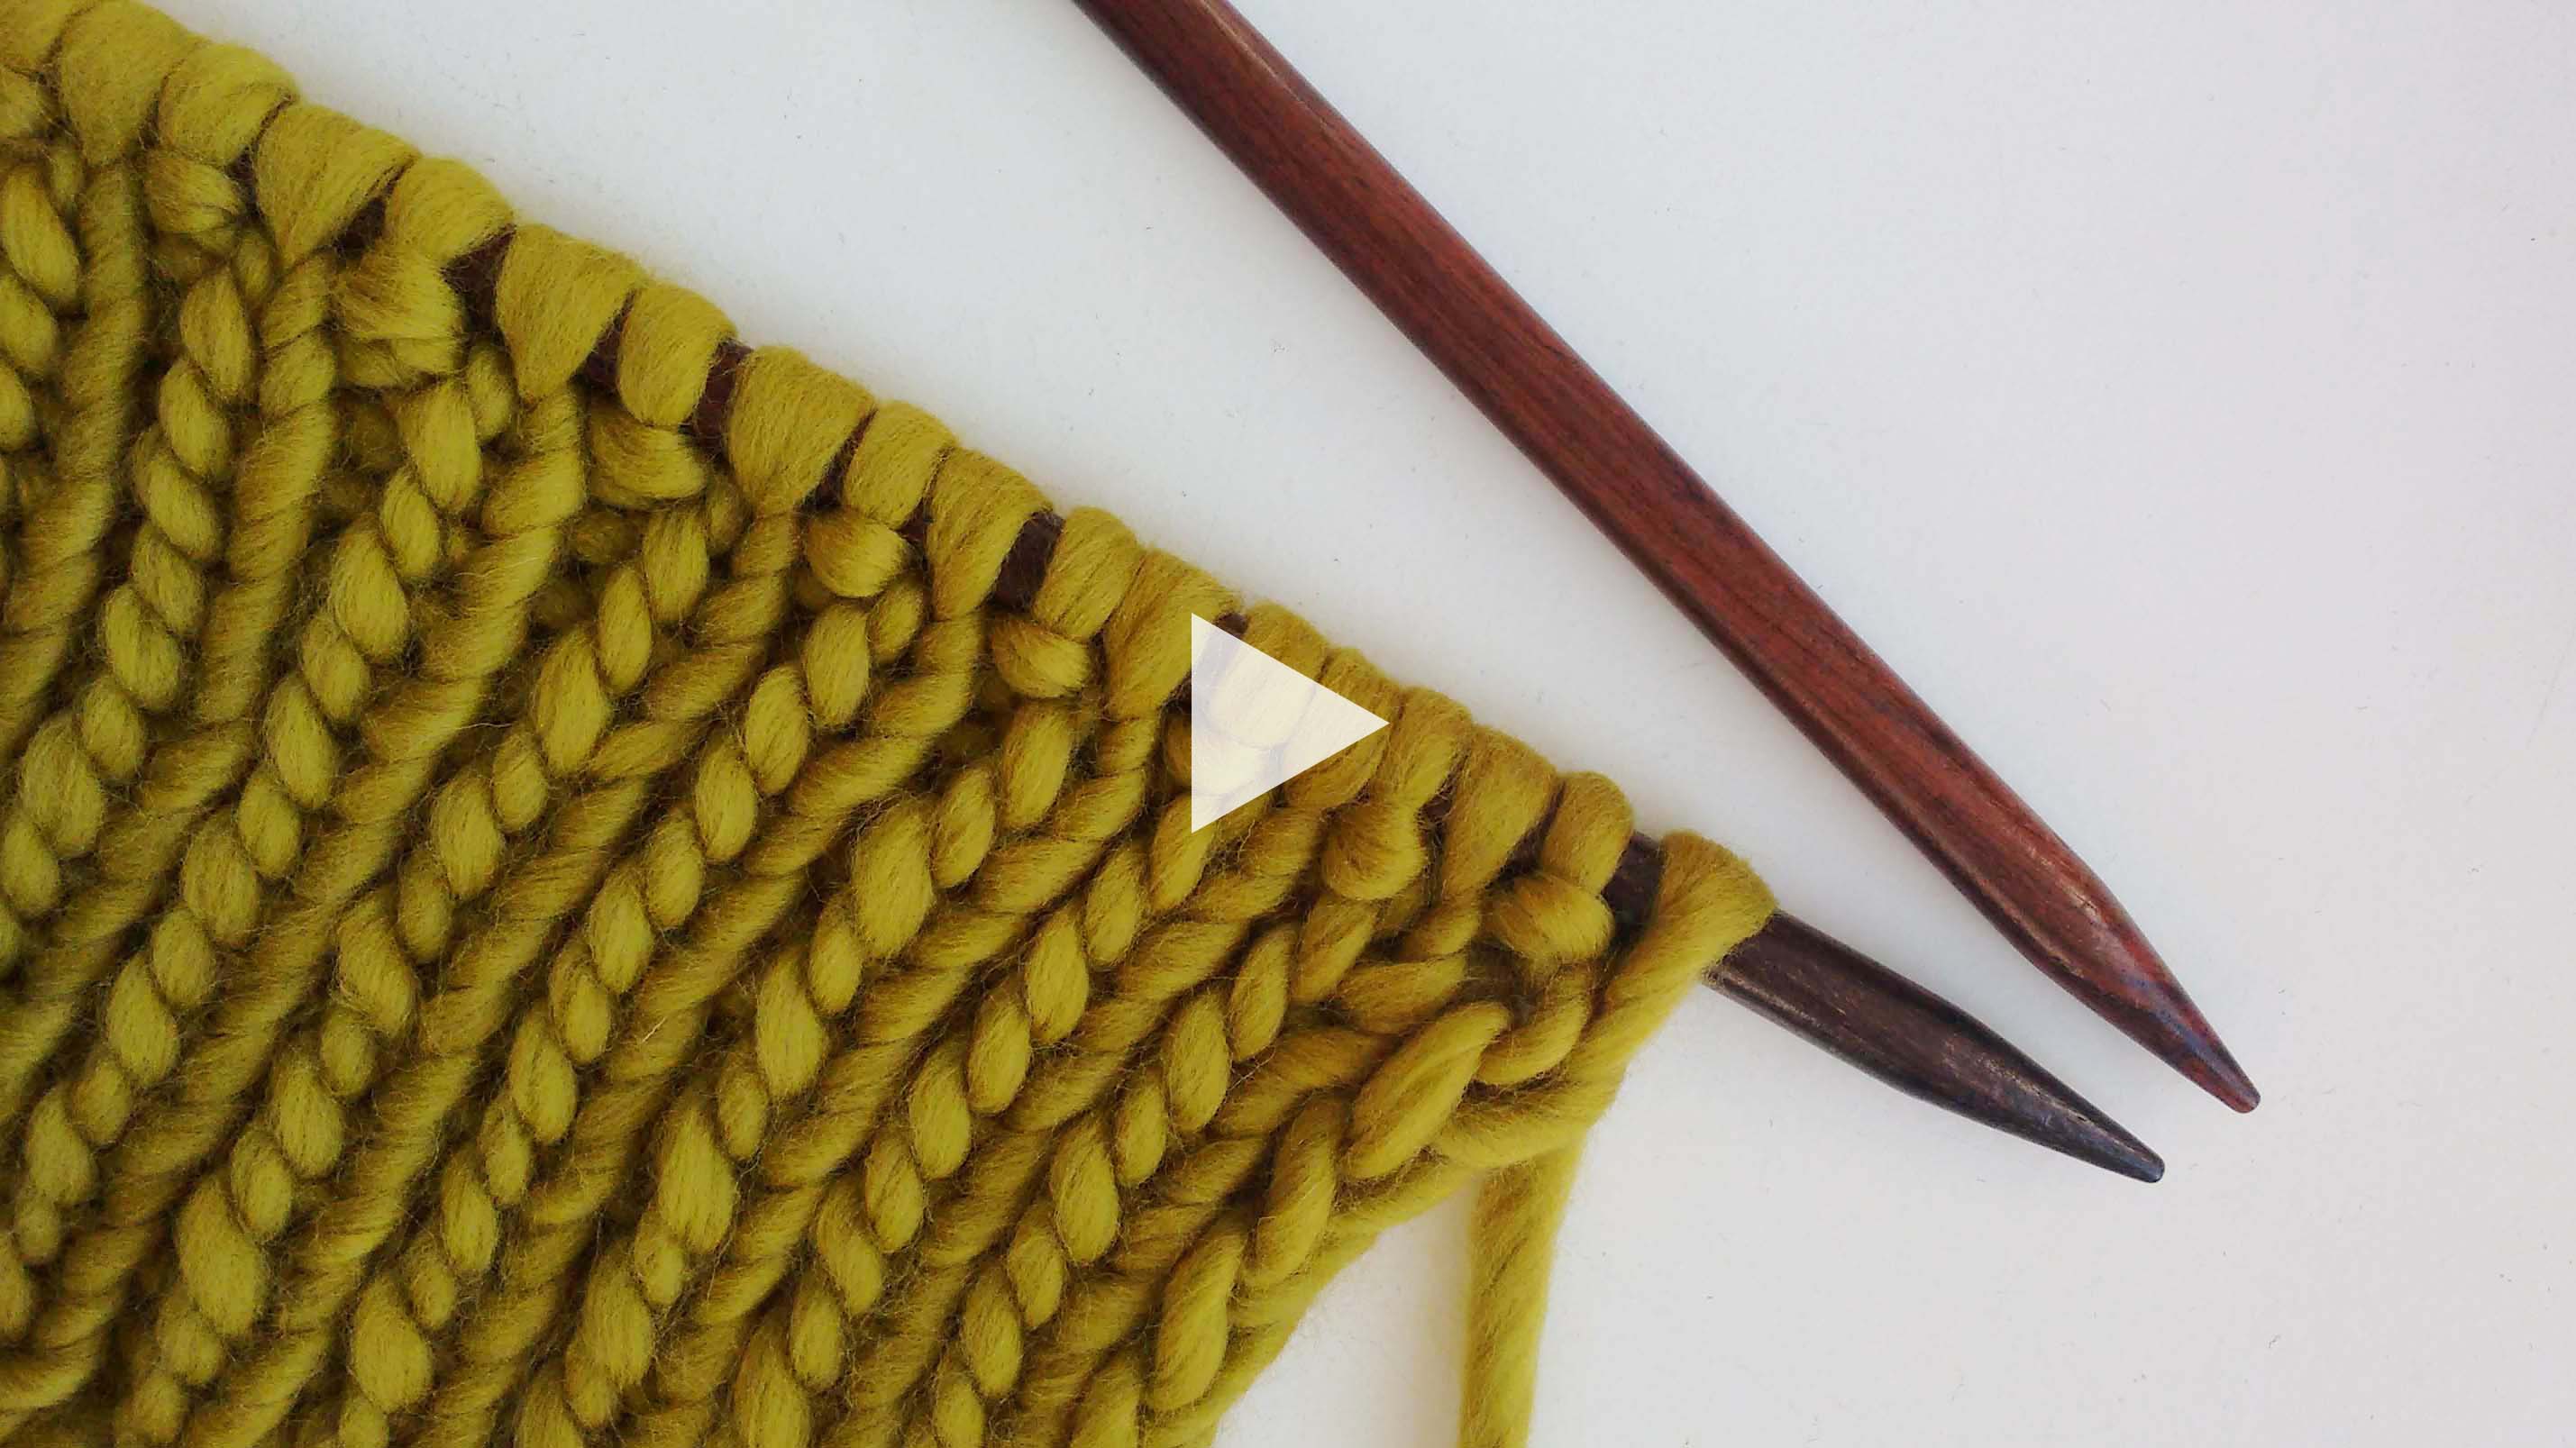
Here, we’re showing you how to work in 1×1 rib stitch across an even number of stitches. Since ribbing is stretchy, it’s a good idea to use a stretchy cast on, too! We suggest checking out the long-tail cast on technique. Ready to get ribbing? Then click on the image below to watch our video, or read on for our step-by-step guide.
- 1. Knit 1 stitch.
- 2. Bring the yarn between the needles to the front.
- 3. Purl your next stitch.
- 4. Bring the yarn between the needles to the back.
Repeat steps 1 to 4 until you have worked all of the stitches of your row. Then simply repeat this row to keep knitting in 1×1 rib stitch.
Today we used our Crazy Sexy Wool in Moss Green, one of our vibrant new shades. To get your hands on some, or explore WATG’s full yarn range, visit our website or click on the yarn ball below.

Hungry for more knitting know-how? There are many different variations of ribbing and a particular WATG favourite is Twisted rib. This version involves working the knit and purl stitches through the back of the stitch and creates a neat, crisp fabric. Want to find out more? Then click the image below to watch our video tutorial.
